How to add custom characters
Updated 12/16/2024
To begin adding your own character to the kit, you'll need to make sure that the skeleton you use is compatible with the UE5 mannequin.
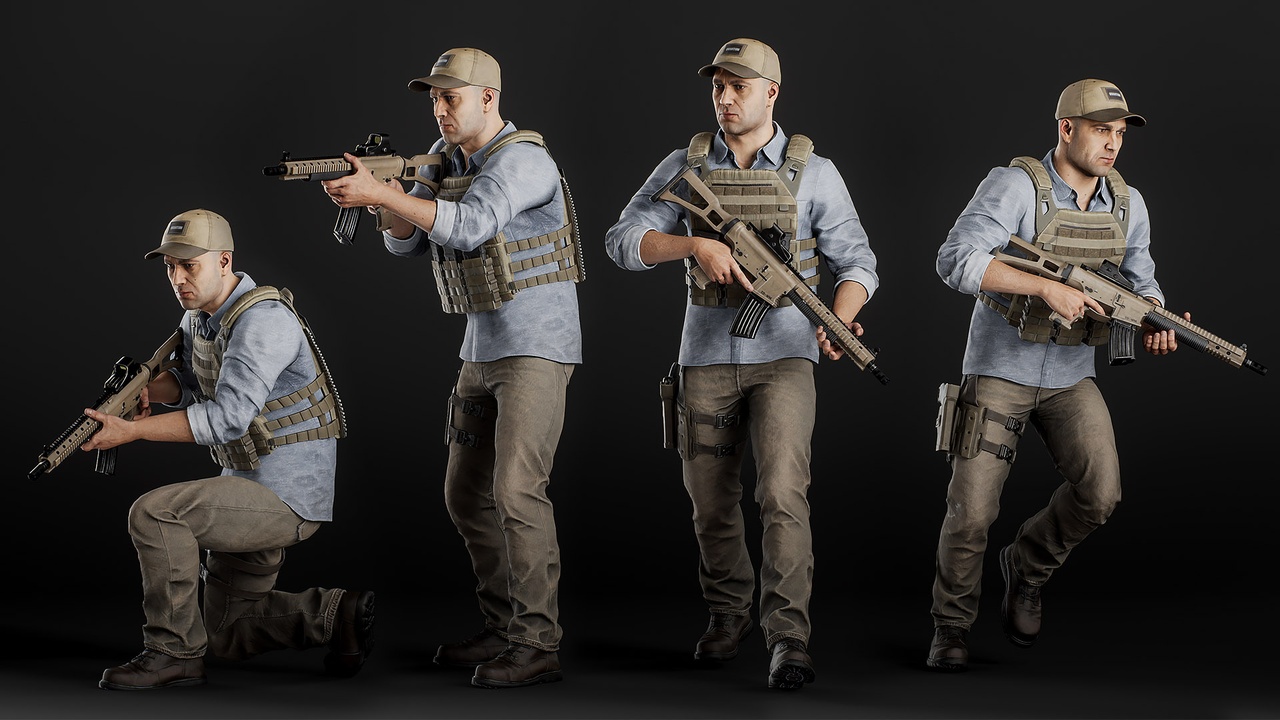
Here's a link to a free character that works well with the kit:
https://www.fab.com/listings/8e200050-3158-4762-b297-f785b5b1533d
To get started, you'll need to navigate to the BP_ThirdPersonCharacter and create a child blueprint.
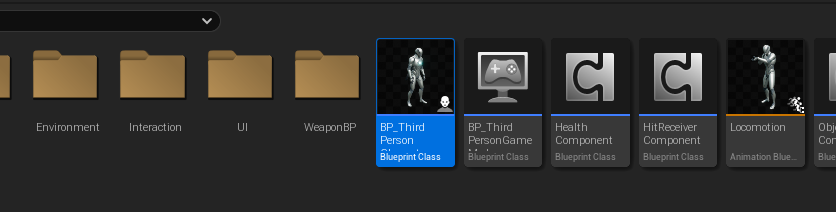
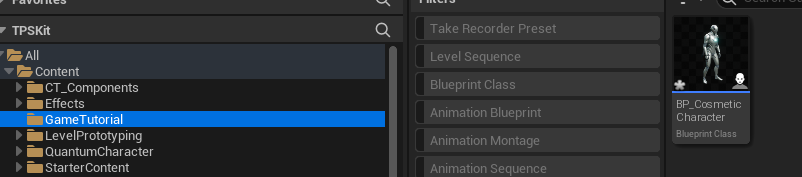
Rename this new asset to something like "BP_CosmeticCharacter" and move it to a new folder in your content folder. All changes should be placed in it's own folder to not overwrite files when updating the project.
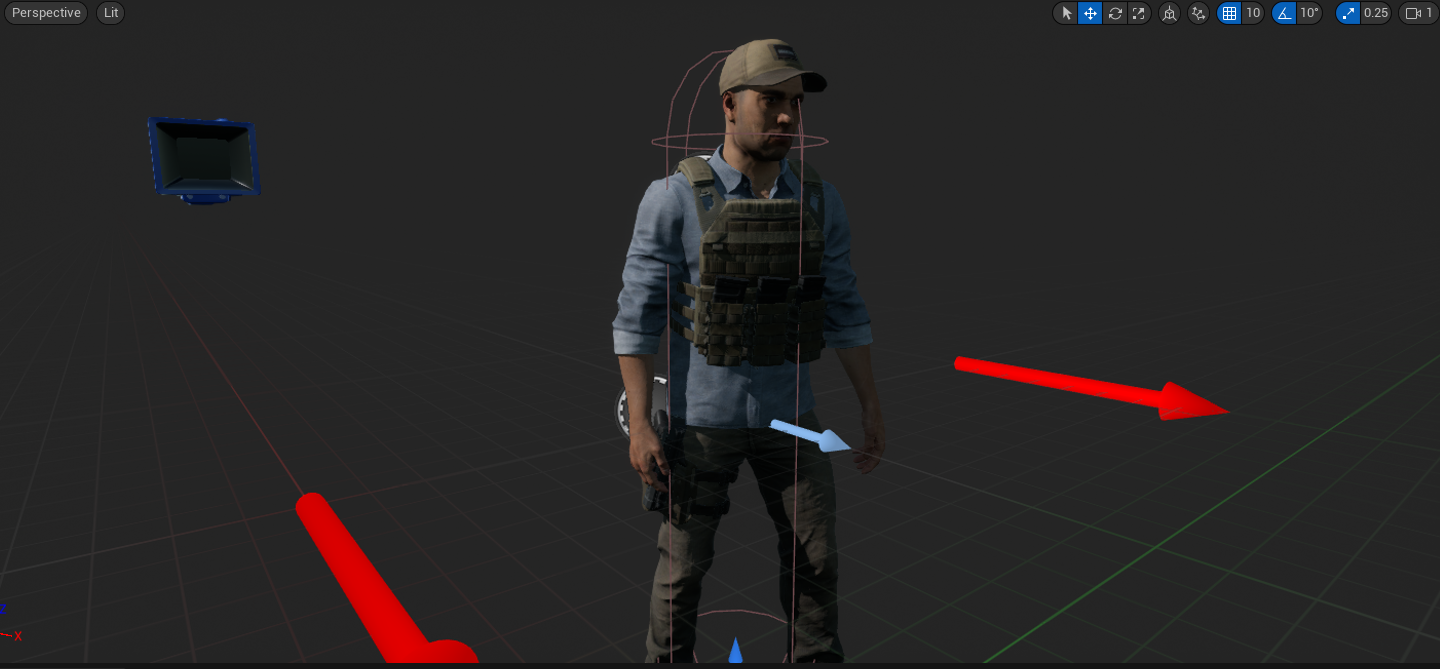
Now, open this new child blueprint add your character's mesh as a child of the Mesh(CharacterMesh0) component.
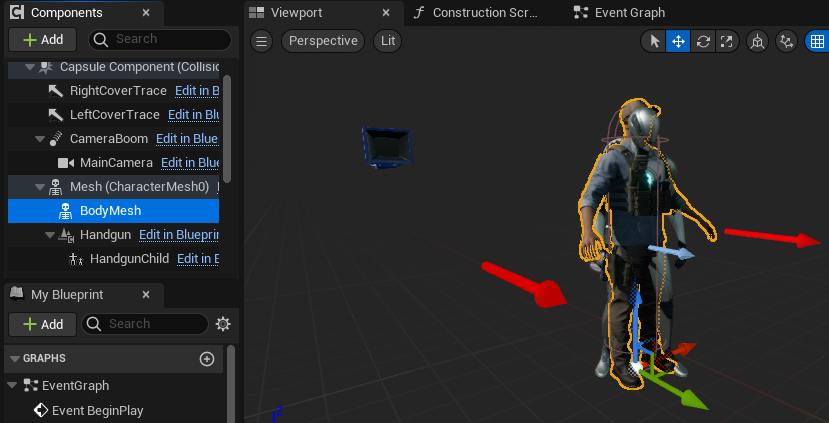
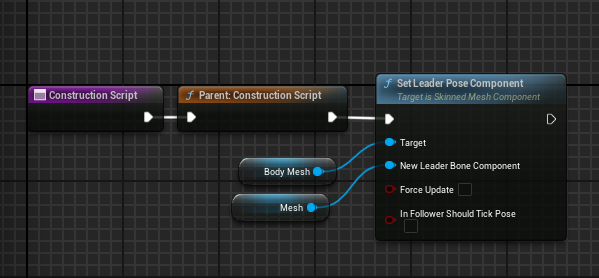
In your construction script, use the "Set Leader Pose Component" to make your new mesh follow the same bones as the default Mesh.
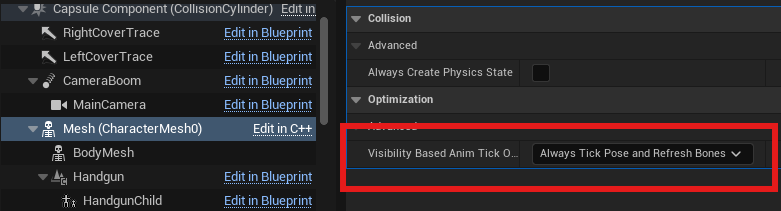
Then on the old Mesh, set the "Visibility Based Anim Tick Option" to "Always Tick Pose and Refresh Bones"
Then enable "Hidden In Game".
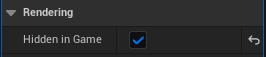
You also set "Visible" to False if you'd like to hide in it in the Blueprint's viewport. After the following these steps, you should be left with a fully working new character mesh.
If you have a questions, feel free to reach out on Discord: https://discord.gg/7yEzrvrJzd