How to add custom weapons
Updated 12/16/2024
Overview
All weapons in the kit are based on base meshes from Epic Games' Lyra Sample Game. The rifle, shotgun, and pistol skeletons can be used to add more weapons to the game without requiring unique animations allowing for quick prototyping.
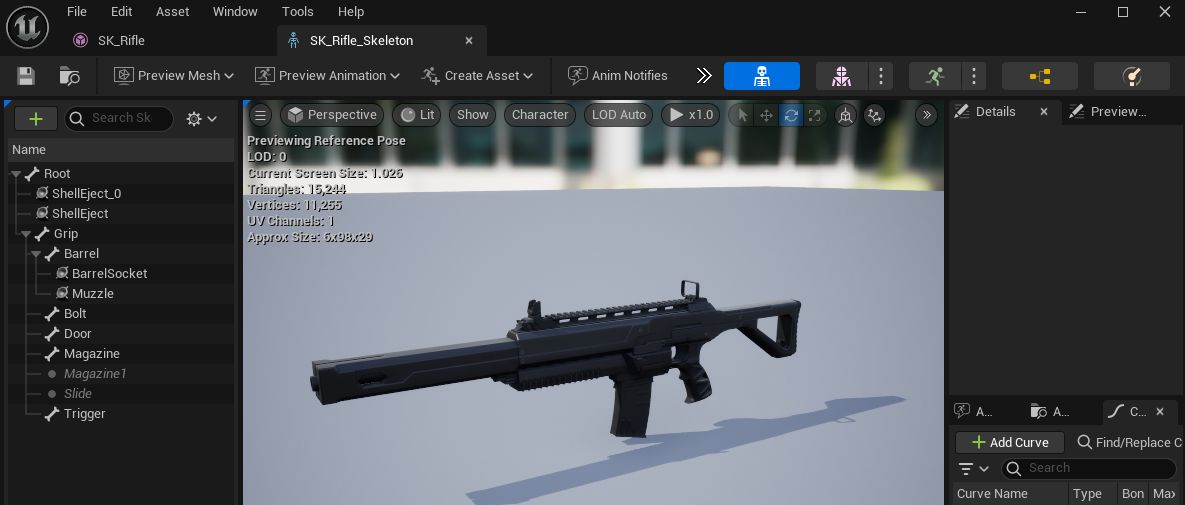
Rigging a weapon
To get started, you'll need a rigged weapon. Here's a quick tutorial on how to rig a weapon to one of these skeletons using Blender. Some basic knowledge of Blender should make this an easy task. This particular tutorial only took 5 minutes.
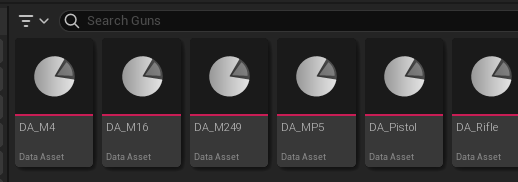
Creating the weapon assets
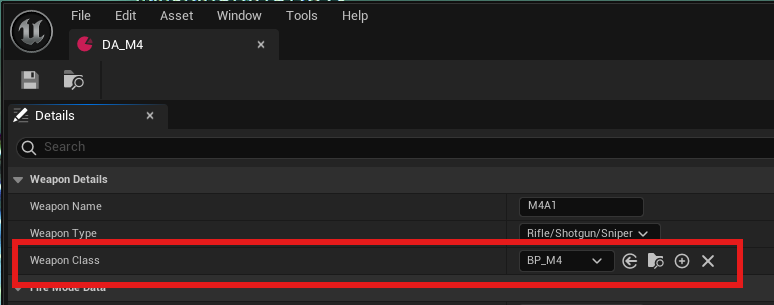
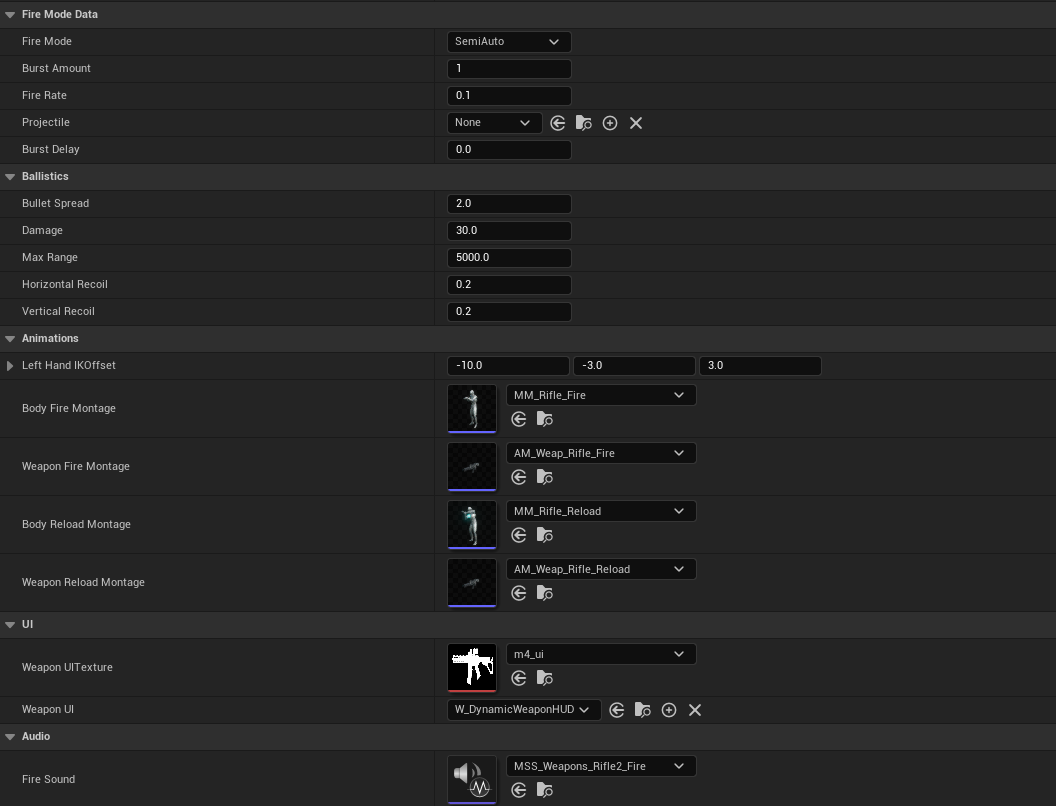
Once your weapon is rigged, there are a few assets you're going to need to create. First, duplicate the weapon data asset that closely matches the type of weapon you are adding.
Once you create the asset, we'll need to focus on the top section. You'll need to select the Weapon Type.

We'll also need to create the Weapon Class. Navigate to the Weapon Classes that have already been created and duplicate one then rename it.
Once created, assign it to the Weapon Class variable of the Weapon Data Asset we just created.
Then open the Weapon Class, and assign the data asset.
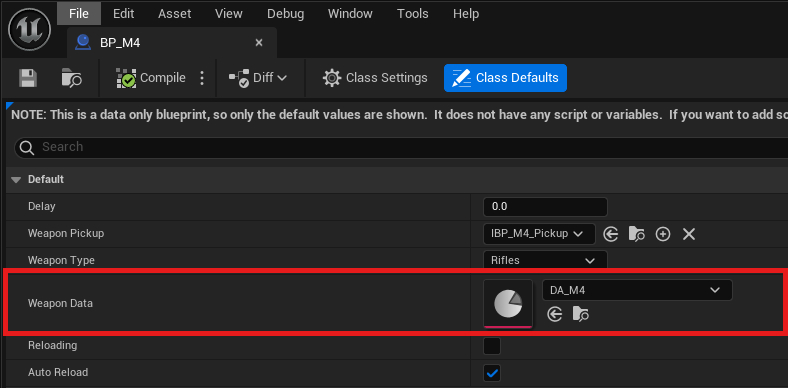
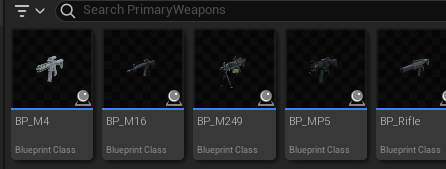
Assign the Weapon Type variable and then navigate to the Weapon Pickup blueprints.
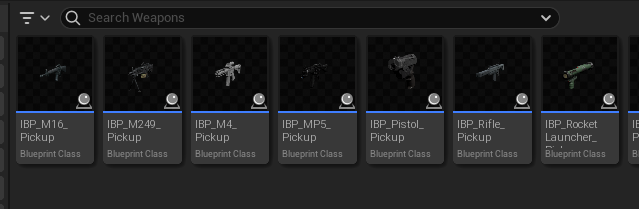
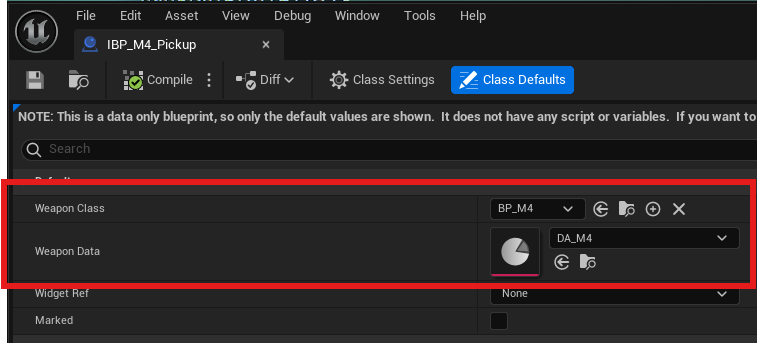
Duplicate one of these blueprints, rename it, then open it. Once it's open, assign the Weapon Class and Weapon Data to the assets we created previously.
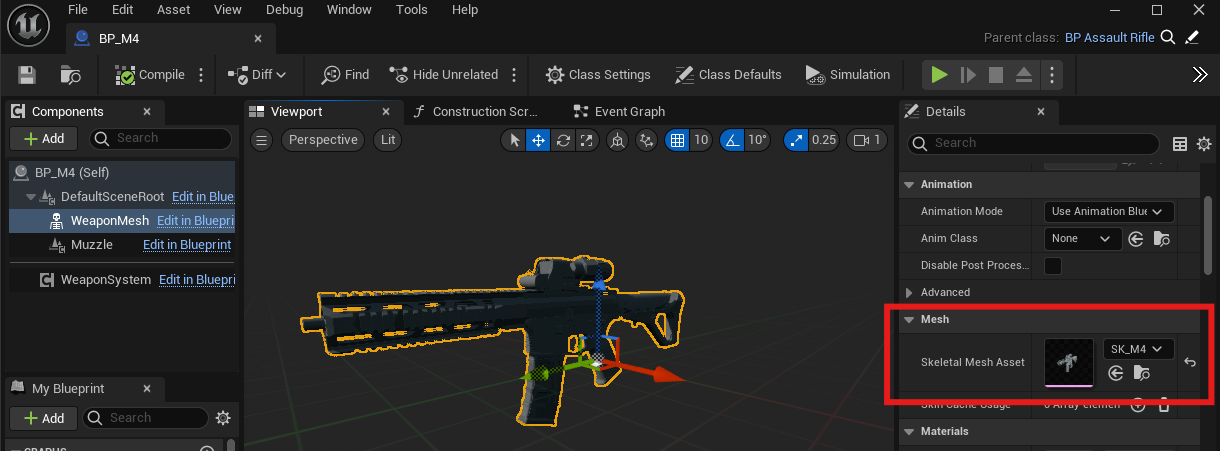
Assign proper weapon mesh to blueprints
Next, you'll need open the Weapon Class and Weapon Pickup blueprints that we created and change the skeleton mesh to the new weapon.

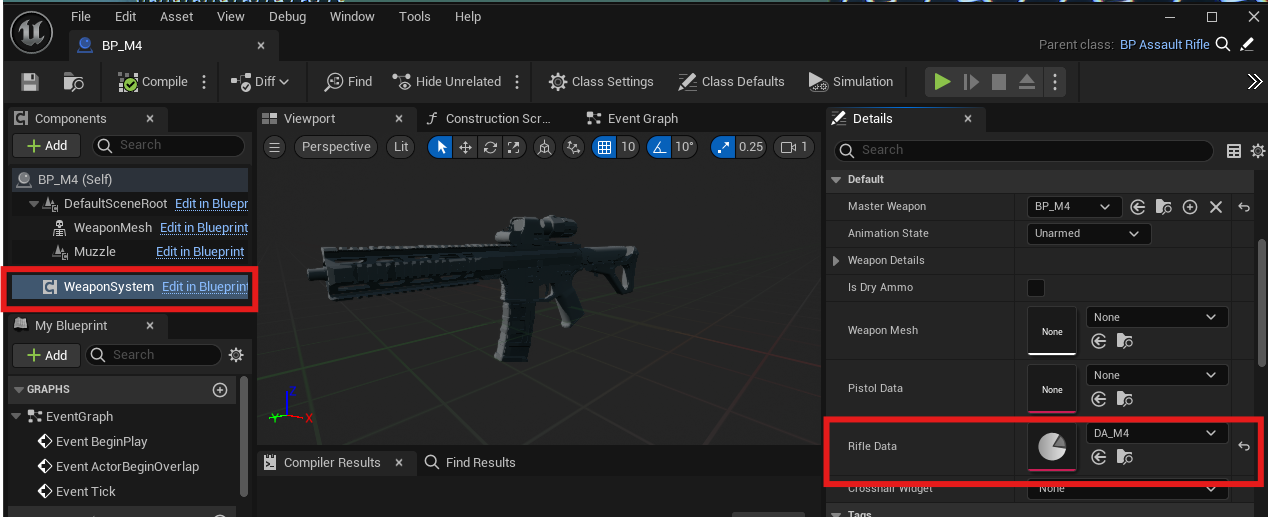
Finishing up
Finally, in the Weapon Class blueprint (ie: BP_M4) select the Weapon System component and set the rifle data if it's a rifle, and the pistol data if it's a pistol. Both data assets are not required:
At this point you'll have a fully functional weapon. You can then open the Weapon Data asset and continue to edit the properties there.
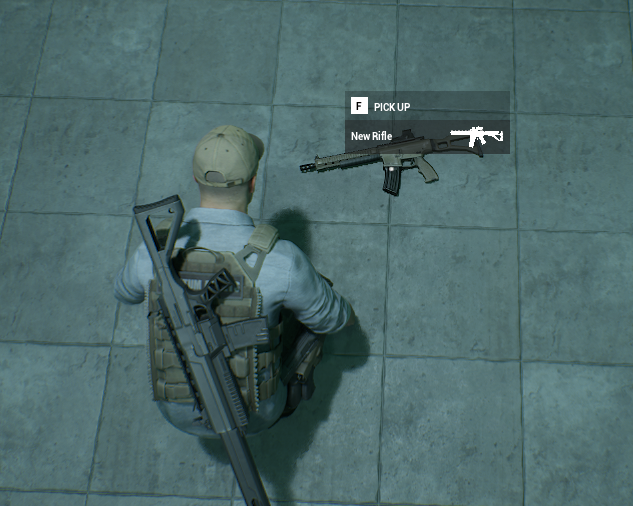
You can add the waepon to your level by dragging and dropping in the Weapon Pickup asset (ie: IBP_M4_Pickup)