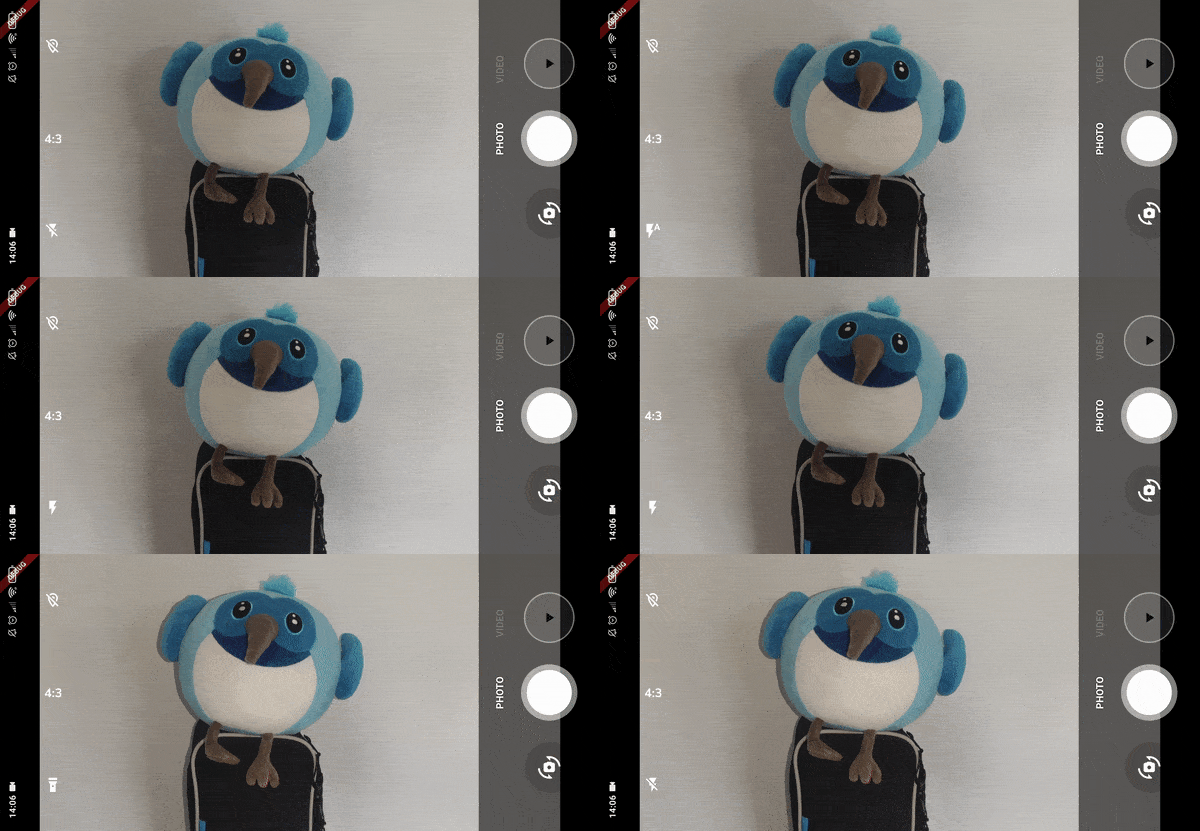
Built-in Buttons
You may want different icons, additional features or just arrange the screen differently.
In this case, you will use CameraAwesomeBuilder.custom() instead of CameraAwesomeBuiilder.awesome().
Yet, if some of our buttons suit your needs, feel free to use them!
AwesomeMediaPreview
Shows a clickable preview of a media captured using CamerAwesome.
This widget rotates when the camera rotates.
Below example shows how to show the last captured media using AwesomeMediaPreview.
StreamBuilder<MediaCapture?>(
  stream: state.captureState$,
  builder: (context, snapshot) {
    if (!snapshot.hasData) {
      return Container(width: 72, height: 72);
    }
    return SizedBox(
      width: 72,
      child: AwesomeMediaPreview(
        mediaCapture: snapshot.requireData,
        onMediaTap: onMediaTap,
      ),
    );
  },
)
Note: video preview is not implemented in this widget since it would imply a dependency to other packages.
You can find an alternative widget that auto plays the last video recorded in the example project at widgets/custom_media_preview.dart.
It uses the video_player package under the hood.
See its usage in custom_ui_example_3.dart.
AwesomeBouncingWidget
This widget is used to make its child bounce when pressed.
AwesomeBouncingWidget(
  // On tap callback. Set it to null to disable the button
  onTap: () {
    // Do something
  },
  // Opacity of the widget when disabled
  disabledOpacity: 0.3,
  // Duration of the bounce animation
  duration: const Duration(milliseconds: 100),
  // Wether or not the widget should vibrate when pressed
  vibrationEnabled: true,
  // Your child widget
  child: MyChild(),
)
AwesomeFlashButton

Choose the Flash mode of the camera.
Supported flash modes are:
- FlashMode.none
- FlashMode.on
- FlashMode.auto
- FlashMode.always
This button rotates when the camera rotates.
Full example:
AwesomeFlashButton(
  // Current CameraState
  state: state,
  // You can provide your own icon builder with a custom icon for each flash mode for example.
  iconBuilder: (flashMode) {
    switch (flashMode) {
      case FlashMode.none:
        return const Icon(Icons.flash_off);
      case FlashMode.on:
        return const Icon(Icons.flash_on);
      case FlashMode.auto:
        return const Icon(Icons.flash_auto);
      case FlashMode.always:
        return const Icon(Icons.flashlight_on);
    }
  },
  // You can provide a custom theme to the button. If you don't, it will use the theme from CameraAwesomeBuilder
  theme: AwesomeTheme(
    buttonTheme: AwesomeButtonTheme(
      iconSize: 28,
      padding: const EdgeInsets.all(8),
      foregroundColor: Colors.black,
      backgroundColor: Colors.white,
    ),
  ),
  onFlashTap: (sensorConfig, flashMode) {
    // You may want to update your custom UI or save the flash mode in the settings of your app for example
    doSomethingCustom();

    // Finally, update the flash mode of the sensor config
    sensorConfig.setFlashMode(flashMode);
  },
)
Note: state is the only required parameter. Other ones have default values.
AwesomeCameraSwitchButton
Switch between Front and Back camera.
This button rotates when the camera rotates.
AwesomeCameraSwitchButton(
  // Current CameraState
  state: state,
  // You can set a scale value for this button to make it look smaller or bigger than the other ones
  scale: 1.5,
  // You can provide a custom theme to the button. If you don't, it will use the theme from CameraAwesomeBuilder
  theme: AwesomeTheme(
    buttonTheme: AwesomeButtonTheme(
      iconSize: 28,
      padding: const EdgeInsets.all(8),
      foregroundColor: Colors.black,
      backgroundColor: Colors.white,
    ),
  ),
  // Change the switch camera behaviour logic
  onSwitchTap: (state) {
    // Aspect ratio is reset by default when switching cameras (it goes back to 4:3).
    // You can change this behaviour by overriding the aspect ratio in the switchCameraSensor method.
    state.switchCameraSensor(
      aspectRatio: state.sensorConfig.aspectRatio,
    );
  },
  // Set the icon you want to display for the switch camera button
  iconBuilder: () {
    return MyCustomIcon();
  },
)
Note: state is the only required parameter. Other ones have default values.
⚠️ By default, the SensorConfig goes back to a SensorConfig with the default values of its constructor:
 SensorConfig({
  required this.sensor,
  FlashMode flash = FlashMode.none,
  SensorType type = SensorType.wideAngle,
  this.captureDeviceId,
  CameraAspectRatios aspectRatio = CameraAspectRatios.ratio_4_3,
  double currentZoom = 0.0,
})
This behaviour may be improved in a future update.
AwesomeCaptureButton

Take a photo when in Photo mode or start/stop recording when in Video mode.
AwesomeCaptureButton(state: state)
AwesomeAspectRatioButton
Change the aspect ratio of the camera using this widget.
Supported ratios are:
- 4:3
- 16:9
- 1:1
This button rotates when the camera rotates.
AwesomeAspectRatioButton(
  state: state,
  // Custom icon builder
  iconBuilder: (aspectRatio) {
    switch (aspectRatio) {
      case CameraAspectRatios.ratio_16_9:
        return const Icon(Icons.crop_16_9);
      case CameraAspectRatios.ratio_4_3:
        return const Icon(Icons.crop_7_5);
      case CameraAspectRatios.ratio_1_1:
        return const Icon(Icons.crop_square);
      default:
        return const SizedBox();
    }
  },
  // You can provide a custom theme to the button. If you don't, it will use the theme from CameraAwesomeBuilder
  theme: AwesomeTheme(
    buttonTheme: AwesomeButtonTheme(
      iconSize: 28,
      padding: const EdgeInsets.all(8),
      foregroundColor: Colors.black,
      backgroundColor: Colors.white,
    ),
  ),
  onAspectRatioTap: (sensorConfig, aspectRatio) {
    // Do something custom
    doSomething();

    // Set the aspect ratio
    sensorConfig.setAspectRatio(aspectRatio);
  },
)
Note: state is the only required parameter. Other ones have default values.
AwesomeLocationButton
When taking a photo, enable or disable the save of the current location in the exif metadata.
This button rotates when the camera rotates.
AwesomeLocationButton(
  // Current CameraState
  state: state,
  // Change the icon based on saveGpsLocation
  iconBuilder: (saveGpsLocation) {
    if (saveGpsLocation) {
      return const Icon(Icons.location_pin);
    } else {
      return const Icon(Icons.location_off_outlined);
    }
  },
  // You can provide a custom theme to the button. If you don't, it will use the theme from CameraAwesomeBuilder
  theme: AwesomeTheme(
    buttonTheme: AwesomeButtonTheme(
      iconSize: 28,
      padding: const EdgeInsets.all(8),
      foregroundColor: Colors.black,
      backgroundColor: Colors.white,
    ),
  ),
  // Change the location button behaviour logic
  onLocationTap: (state, saveGpsLocation) {
    // Your custom logic
    doSomethingCustom();

    // Default logic
    state.shouldSaveGpsLocation(saveGpsLocation);
  },
)
AwesomePauseResumeButton
Pause or resume a video recording with this button.
This widget is designed to work with a VideoRecordingCameraState.
This button rotates when the camera rotates.
AwesomePauseResumeButton(
  state: videoRecordingCameraState,
  // You can provide a custom theme to the button. If you don't, it will use the theme from CameraAwesomeBuilder
  theme: AwesomeTheme(
    buttonTheme: AwesomeButtonTheme(
      iconSize: 28,
      padding: const EdgeInsets.all(8),
      foregroundColor: Colors.black,
      backgroundColor: Colors.white,
    ),
  ),
)
)
### AwesomeSensorTypeSelector (iOS only)

Change between different sensor types. The widget will adapt itself to the available sensors.
Here is an example of all existing sensors on an iPhone 14 Pro:
- Wide angle.
- Ultra wide angle.
- Telephoto.
- TrueDepth (front camera).
You can call `CamerawesomePlugin.getSensors()` to get the list of available sensors.
_Elements of this widget rotate when the camera rotates._
```dart
AwesomeSensorTypeSelector(state: state)